Dill Butter Garlic Knots: Made with Fresh Milled Flour
If you love homemade bread and bold flavors, these Dill Butter Garlic Knots made with fresh milled flour are sure to become a favorite.
Inspired by the beloved dill butter garlic bread sticks from my hometown’s famous pizza spot, this recipe transforms simple ingredients into soft, aromatic knots topped with savory dill and garlic butter. It’s a fresh milled flour twist on a classic flavor that’s been cherished by locals and visitors alike.
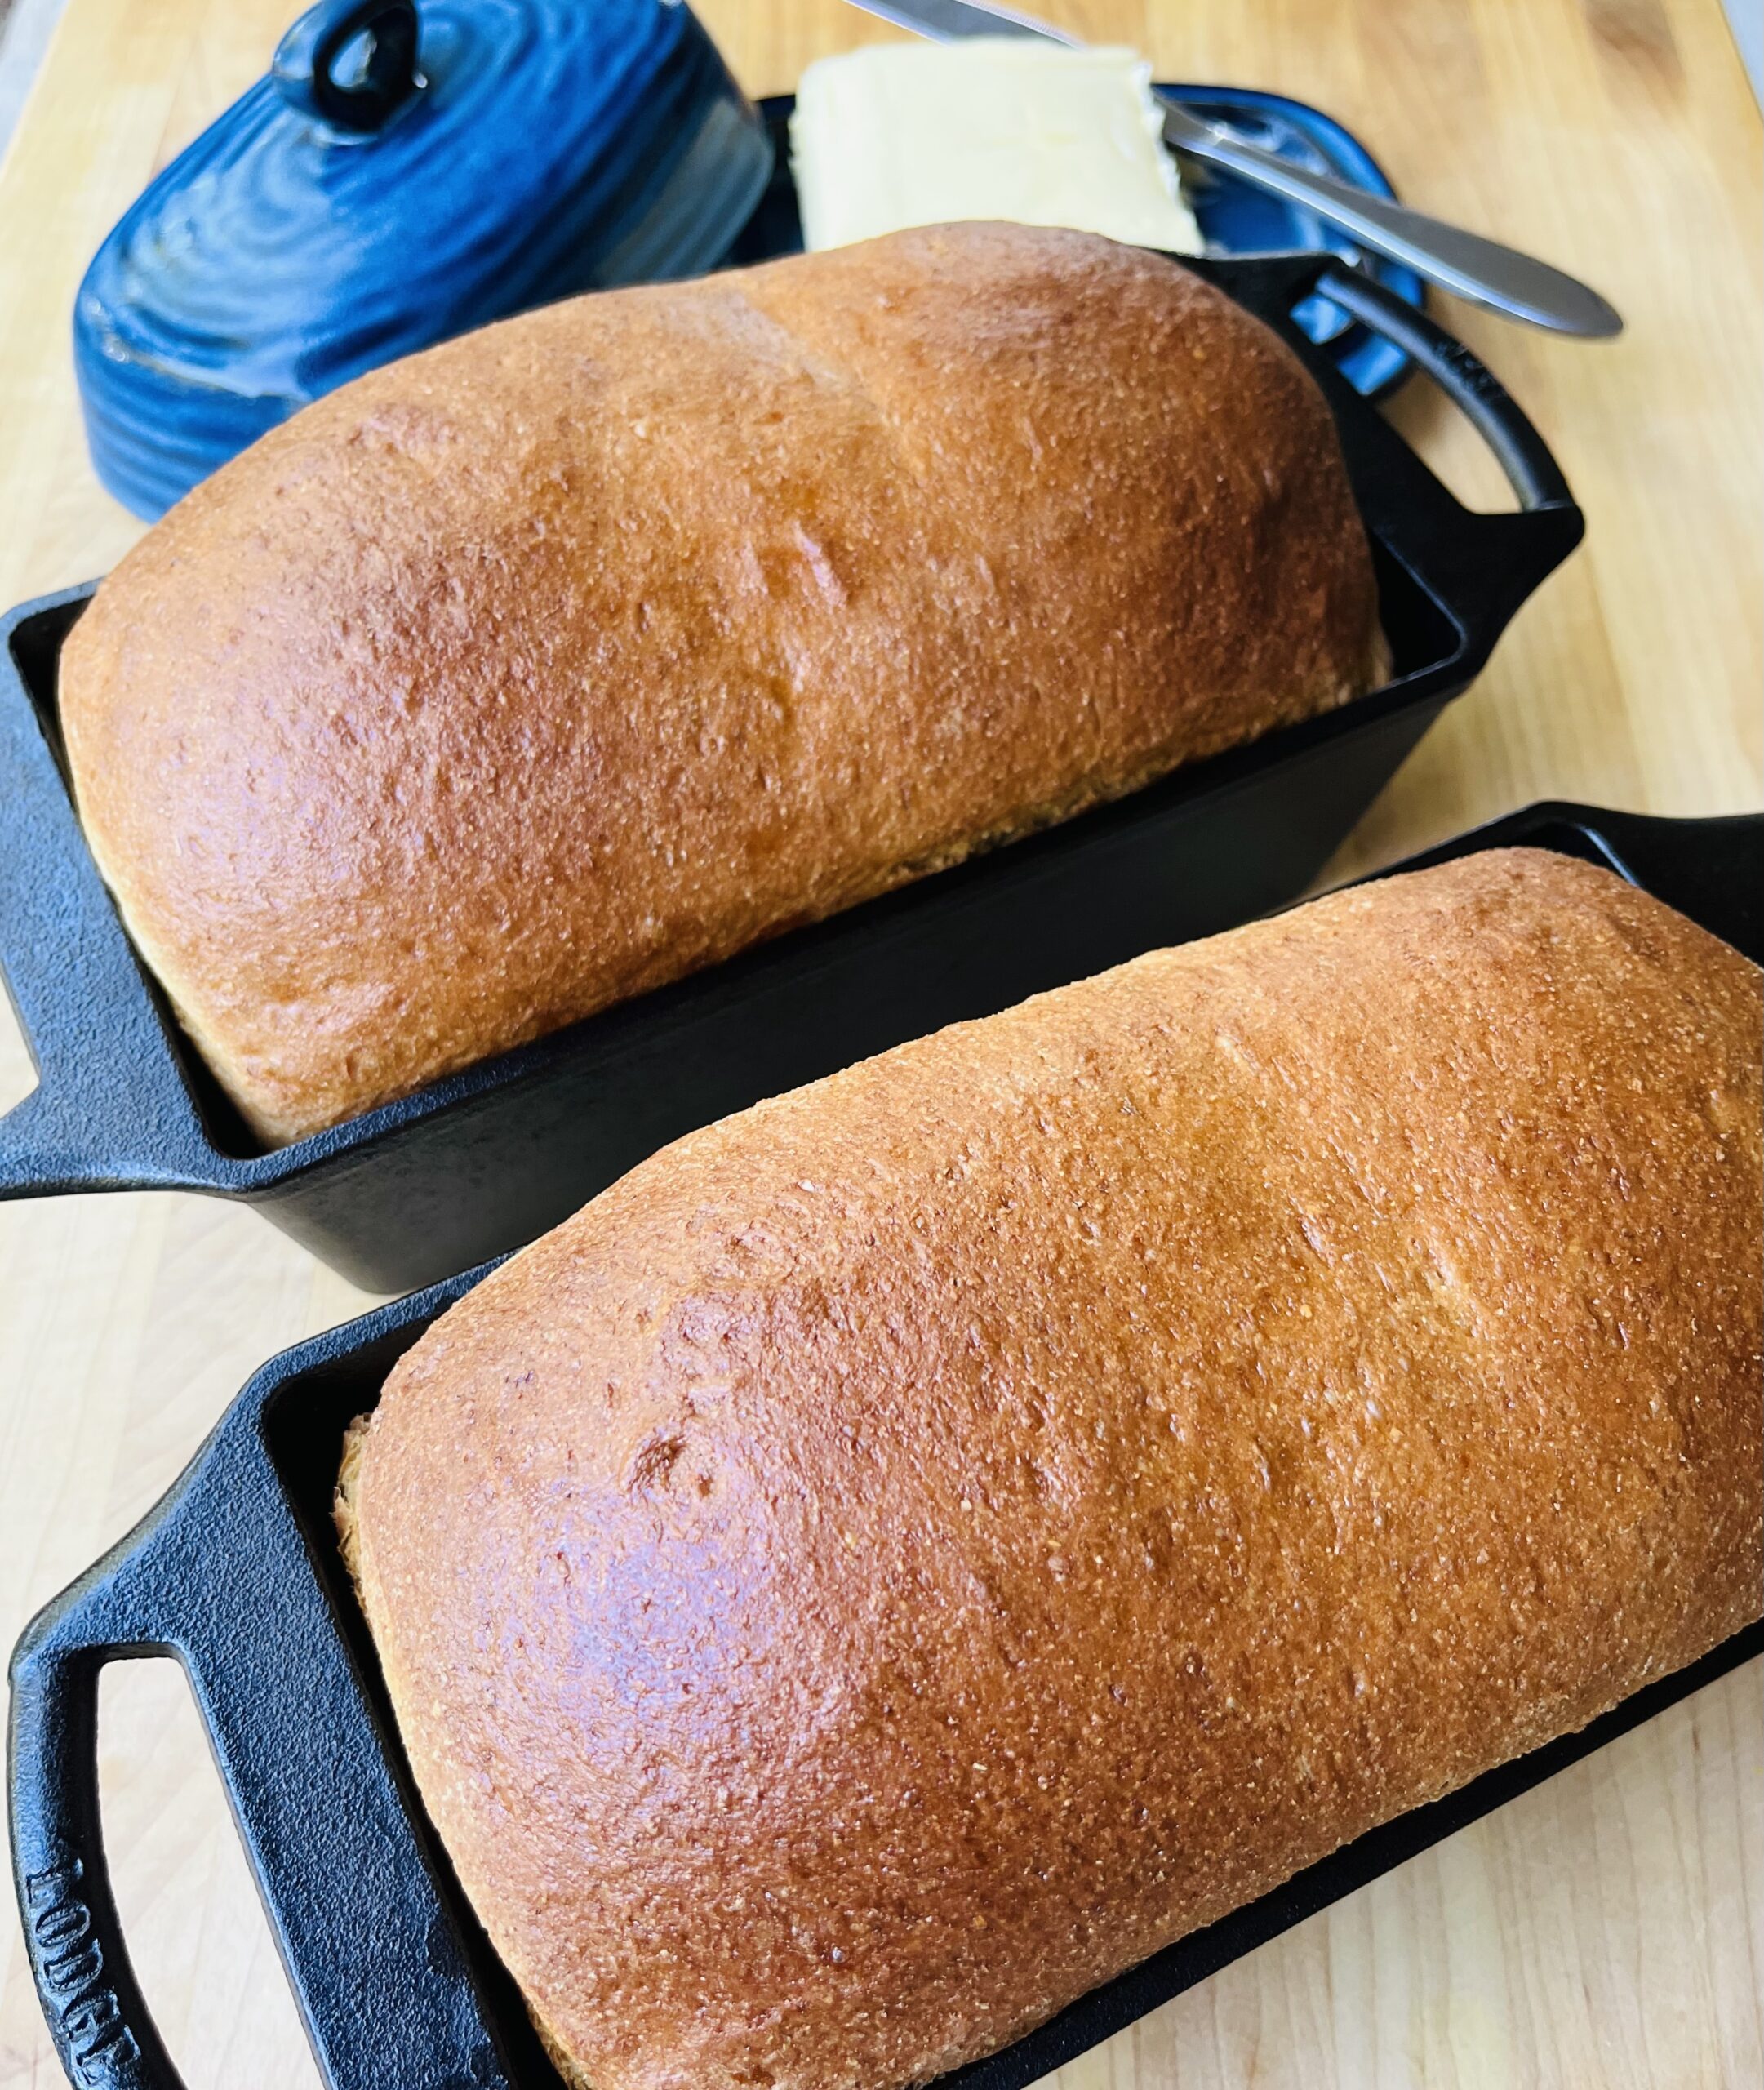
If you’ve tried my other basic yeast bread recipes, steps 1-4 will be familiar. This versatile dough can be used for soft sandwich bread, soft yeast rolls, or cinnamon swirl bread. Starting with step 5, you’ll find tips for making the perfect Dill Butter Garlic Knots.
*This post contains affiliate links. Please see full disclosure for details.
Ingredients for dill butter garlic knots made with fresh milled flour:
660 g hard white wheat berries (or 473 g hard white and 187 g Khorasan)
26 g dry milk powder (1/4 cup) (May omit milk powder and substitute water for milk.)
11.5 g salt (2 tsp)
85 g honey
39 g olive oil (May substitute butter that has been melted and cooled to room temperature.)
418 g water
1 egg (room temperature)
2 1/2 tsp instant yeast
Topping:
70 g unsalted butter
1.5 g (½ teaspoon) garlic powder
1.2 g (¼ teaspoon) dried dill
6 g (1 teaspoon) salt
Zest of fresh parmesan cheese
Step 1. Mixing:
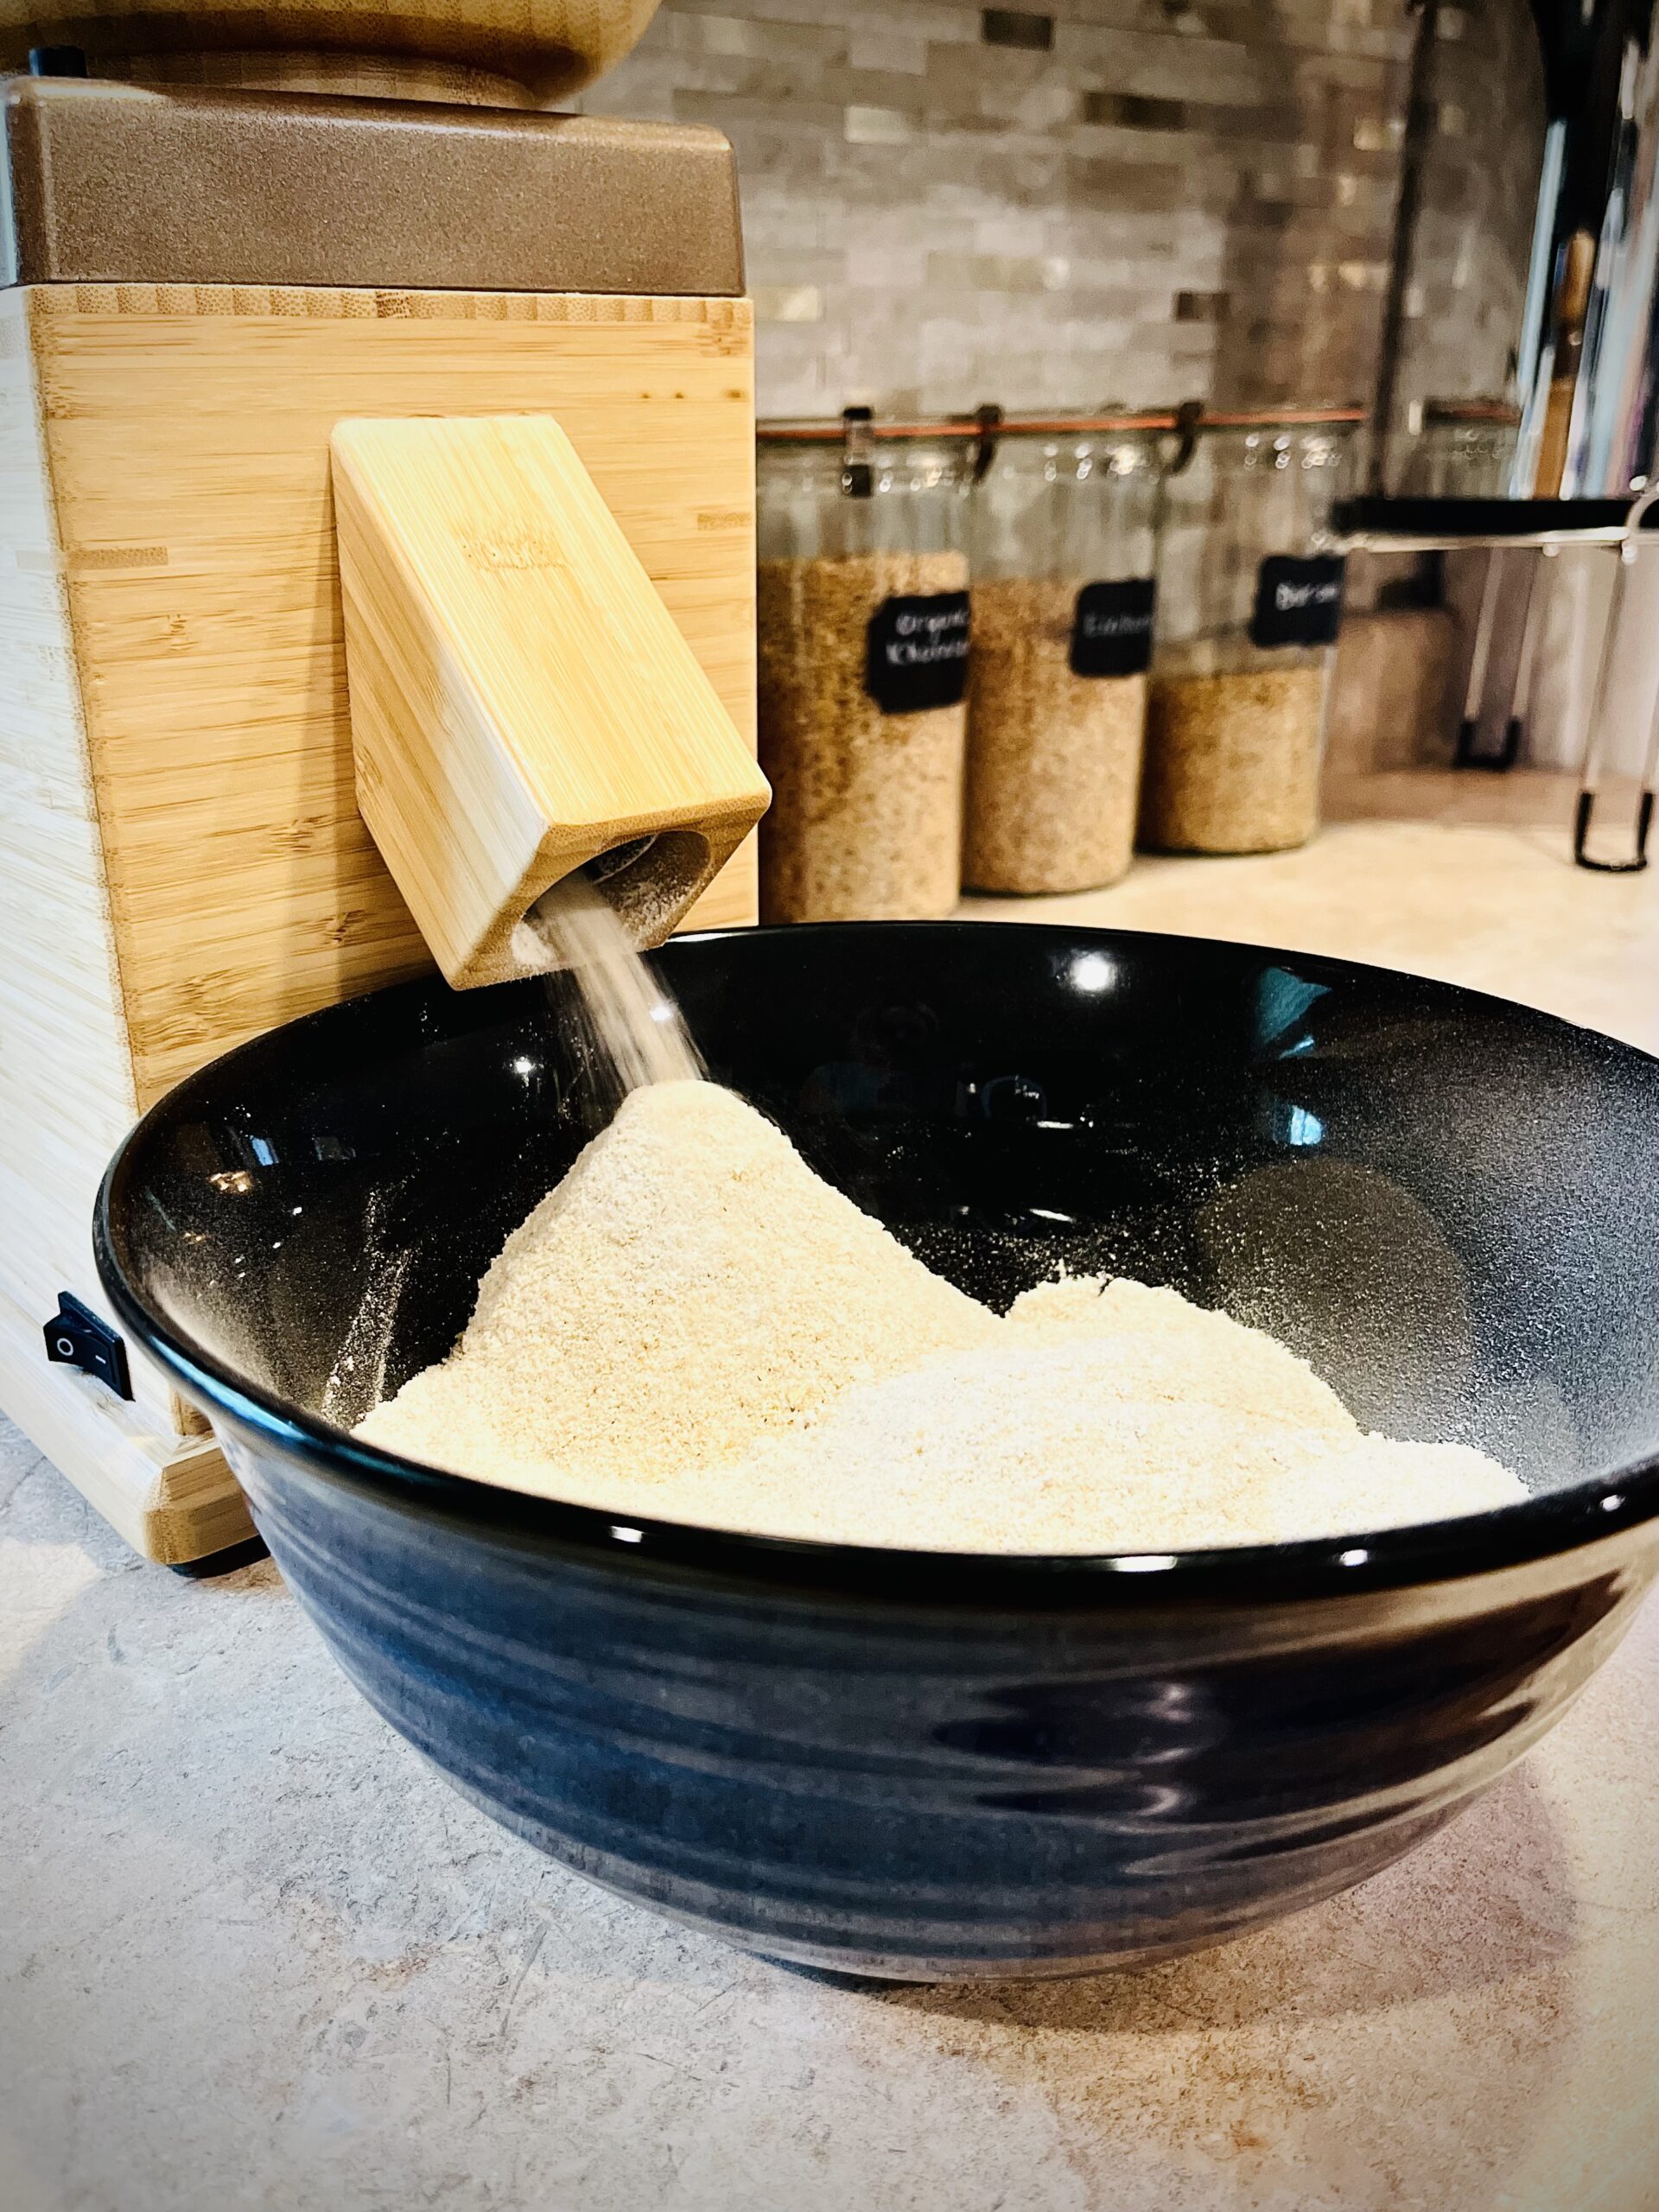
Firstly, measure 660 grams of wheat berries. I like to use 473 grams of hard white and 187 grams of Khorasan. If you don’t have Khorasan, you can use all hard white. Hard red wheat berries are another great option.
Secondly, mill the wheat berries through your grain mill on a fine setting. I have a NutriMill Harvest so I can get a full 660 grams of flour one-for-one out of my grain mill. If you have trouble getting all the flour to move through your mill, you may need to weigh out one or two grams extra of wheat berries. This will account for any loss you may experience in the milling process. Once you have the flour freshly milled, add 11.5 grams (2 tsp) of salt and 26 grams (¼ cup) of dry milk powder to the flour and gently mix with a spoon. Then set aside.
Tip:
If you don’t have milk powder, you may omit it, but you will need to substitute the water for milk.
Thirdly, measure 418 grams of water and warm until it’s approximately 95° F to 105°F. This can be done by placing it in the microwave for approximately 45 seconds. Add water, 39 grams of olive oil, 85 grams of honey, and 1 room temperature egg to a stand mixer. Mix the liquid ingredients. Start out at a low speed and then slowly increase the speed to medium until all the wet ingredients are well mixed.
Once the wet ingredients are mixed, gradually add the freshly milled flour mixture. Mix on a low to medium speed just until all the flour is no longer dry. It should only take one to two minutes. Don’t over mix at this point. You’re just trying to get the flour wet at this stage.
Step 2. Autolysing:
Next, cover and let rest for 1 hour. This rest period is called Autolysing. It is a critical step to successfully baking with fresh milled flour. Autolysing is a rest period that allows the flour to fully absorb the liquid. It also plays a role in better gluten development. This is especially important with fresh milled flour as it gives the wheat germ and bran the opportunity to soften up. Skipping this step will result in a more dense and crumbly loaf.
Step 3. Kneading:
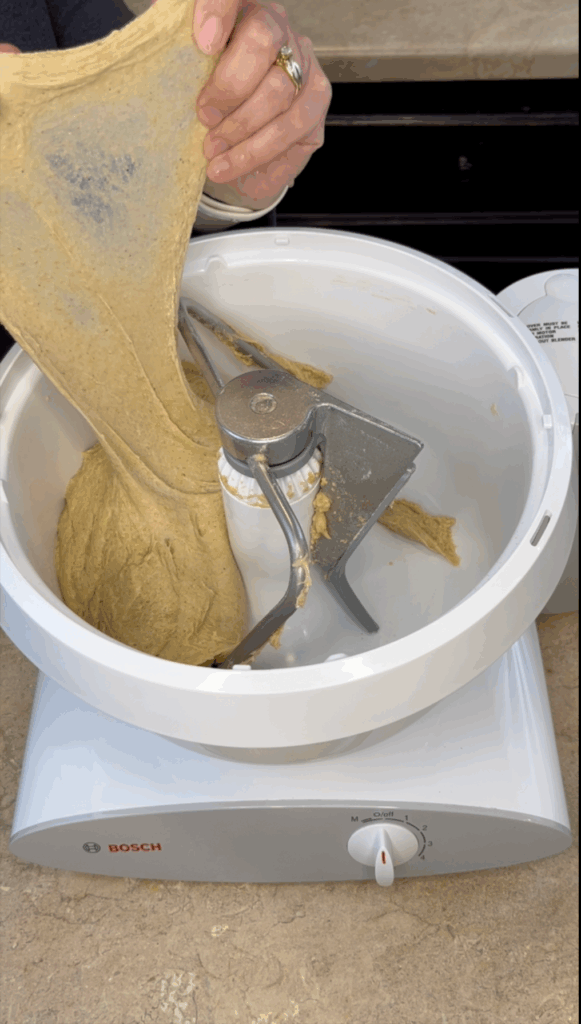
After the dough has autolysed for one hour, add 2 1/2 tsp instant yeast. I like to use saf–instant. Then, knead in your stand mixer until you have reached a windowpane. Trust the process and DO NOT add any extra flour at this point. When you first start mixing this is a very wet dough. It will come together. As you start to knead you will see the dough strengthen. It will begin to ball up and become one cohesive unit. The kneading process will be done when you reach the windowpane stage.
Windowpane is determined by pulling a piece of the dough upward. Then, stretch until it becomes very thin and translucent before it breaks. Depending on your mixer, reaching a windowpane can take anywhere between 5-30 minutes. If you are new to making bread, I highly recommend watching it closely. Subsequently, over kneading can cause the dough to break down and lose the gluten structure. The result of the bread will be tough and chewy. Stop the mixer frequently to test for a windowpane. Once you become more experienced you will know about how long it takes your mixer so you can walk away while your stand mixer does all the work.
I have an Ankarsrum mixer that does a very gentle and slow knead. It takes me 24 minutes, with the mixer set to the 3 o’clock position, to reach a windowpane. I also have a Bosch Universal Plus stand mixer. It takes about 8 minutes set on speed 2 to reach a windowpane. A Kitchen Aid will vary based on the specific model you have.
Step 4. Bulk Fermenting:
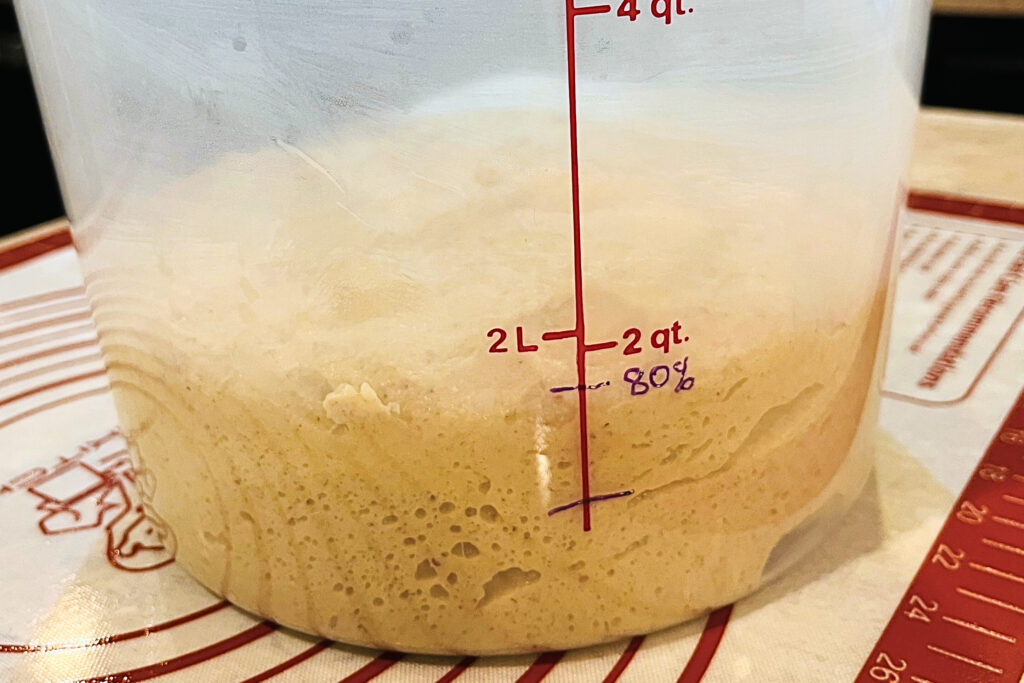
Next, lightly oil your proofing container to prevent sticking. A see through container with straight sides works best. Then, transfer your dough to the proofing container. Cover and let rest in a warm place until it increases by about 80%. The amount of time it takes for your proofing depends on the starting temperature of your dough. Additionally, the temperature and moisture of your environment. Generally, it takes about 30 minutes to 1 hour at room temperature (70-75°F) to reach an 80% increase in bulk. I would recommend setting an alarm and checking on it every 30 minutes. This will allow you to gauge how fast your dough is rising.
Bread is greatly dependent on the environment, and no two loaves will ever be the same. I live in an area that gets all 4 seasons. I get very different results in the winter than I do in the hot humid summers. Don’t over proof your dough at this point or it will cause the final product to be crumbly.
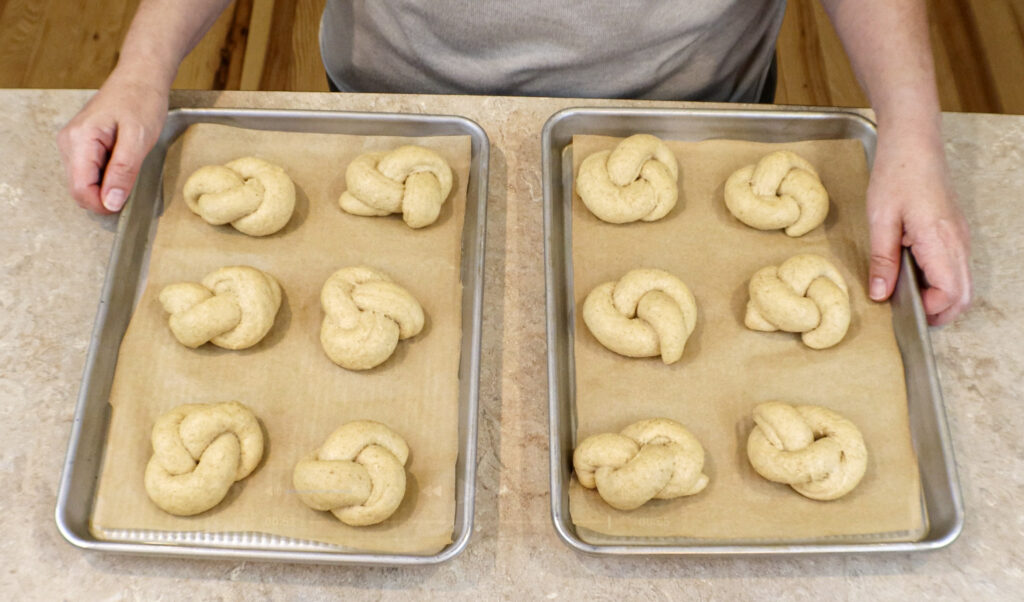
Step 5: Prepare the baking sheet:
While you are waiting for your dough to ferment, prepare the baking sheet. I prefer to place a piece of parchment paper or an oven safe silicone mat on the baking sheet. If you won’t be using either of these options, you will want to grease your baking sheet with unsalted butter.
Step 6. Shaping the dough:
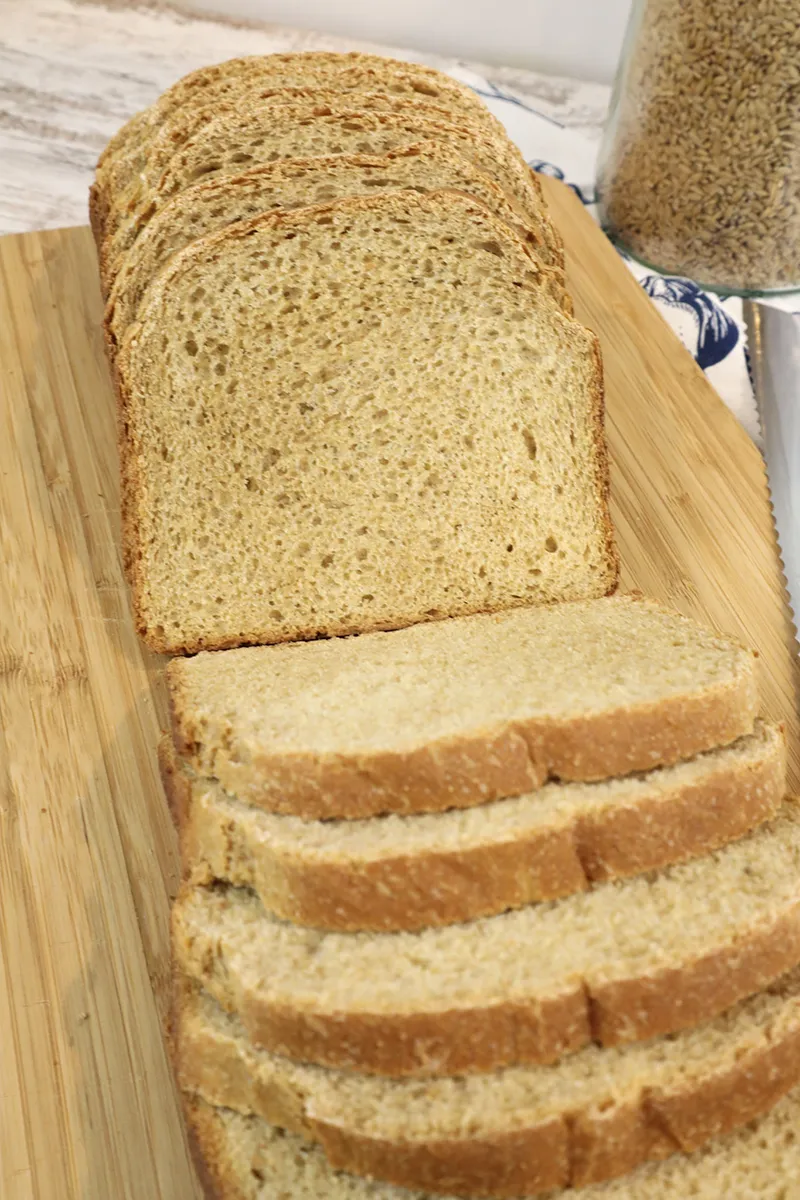
Once the dough has risen 80%, turn the dough out onto a lightly oiled work surface. Lightly oil the dough scraper and rolling pin. Divide the dough into 24 equal pieces. If you only want to make 12 knots, cut dough in half. Then, take half the dough and divide into 12 equal pieces. You can shape the other half of the dough into my soft sandwich bread or one of my other basic dough recipes.
Tip:
To ensure the knots are the same size it’s best practice to weigh the dough. Then, divide by 24. That’s the amount each individual dough ball will need to be for shaping.
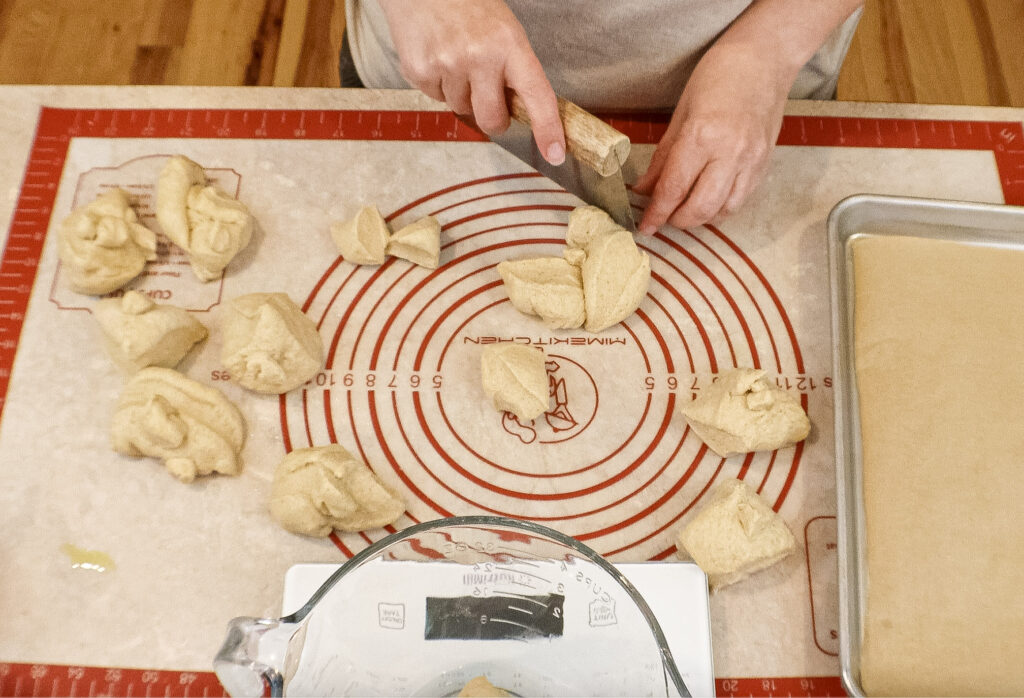
After you have equal size portions; you need to shape the knots. Do this by rolling each piece of dough into a rectangle shape. It should be approximately 10 inches wide by 2 inches tall. This does not have to be perfect. Next, roll the dough along the 10-inch-wide side into a cylinder shape. Then, pinch the ends together. Next, roll the cylinder shaped dough back and forth across your work surface to even the dough out. Subsequently, this will create surface tension. Next, tie the dough into a knot. Tuck the ends under the knot and place on the prepared baking sheet. Repeat shaping for all 24 knots.
See my video for a visual on how this looks.
Step 7. Proofing:
Once all the knots are shaped, cover and let them sit in a warm place to rise for about 15 minutes. You don’t want to over proof the dough here. They will be puffy, but they won’t be doubled in size. While the knots are proofing, preheat the oven to 350°F.
Step 8. Prepare Dill Butter Garlic Topping:
In a small pan on low heat melt 70 grams of unsalted butter. Add garlic powder, salt, and dried dill. Stir until mixed. Remove from heat.
Tip:
If you prefer to use a microwave instead of a stove, add all ingredients to a small dish and warm in the microwave for 10-20 seconds at a time until all the butter is melted. Then, stir until all ingredients are well mixed.
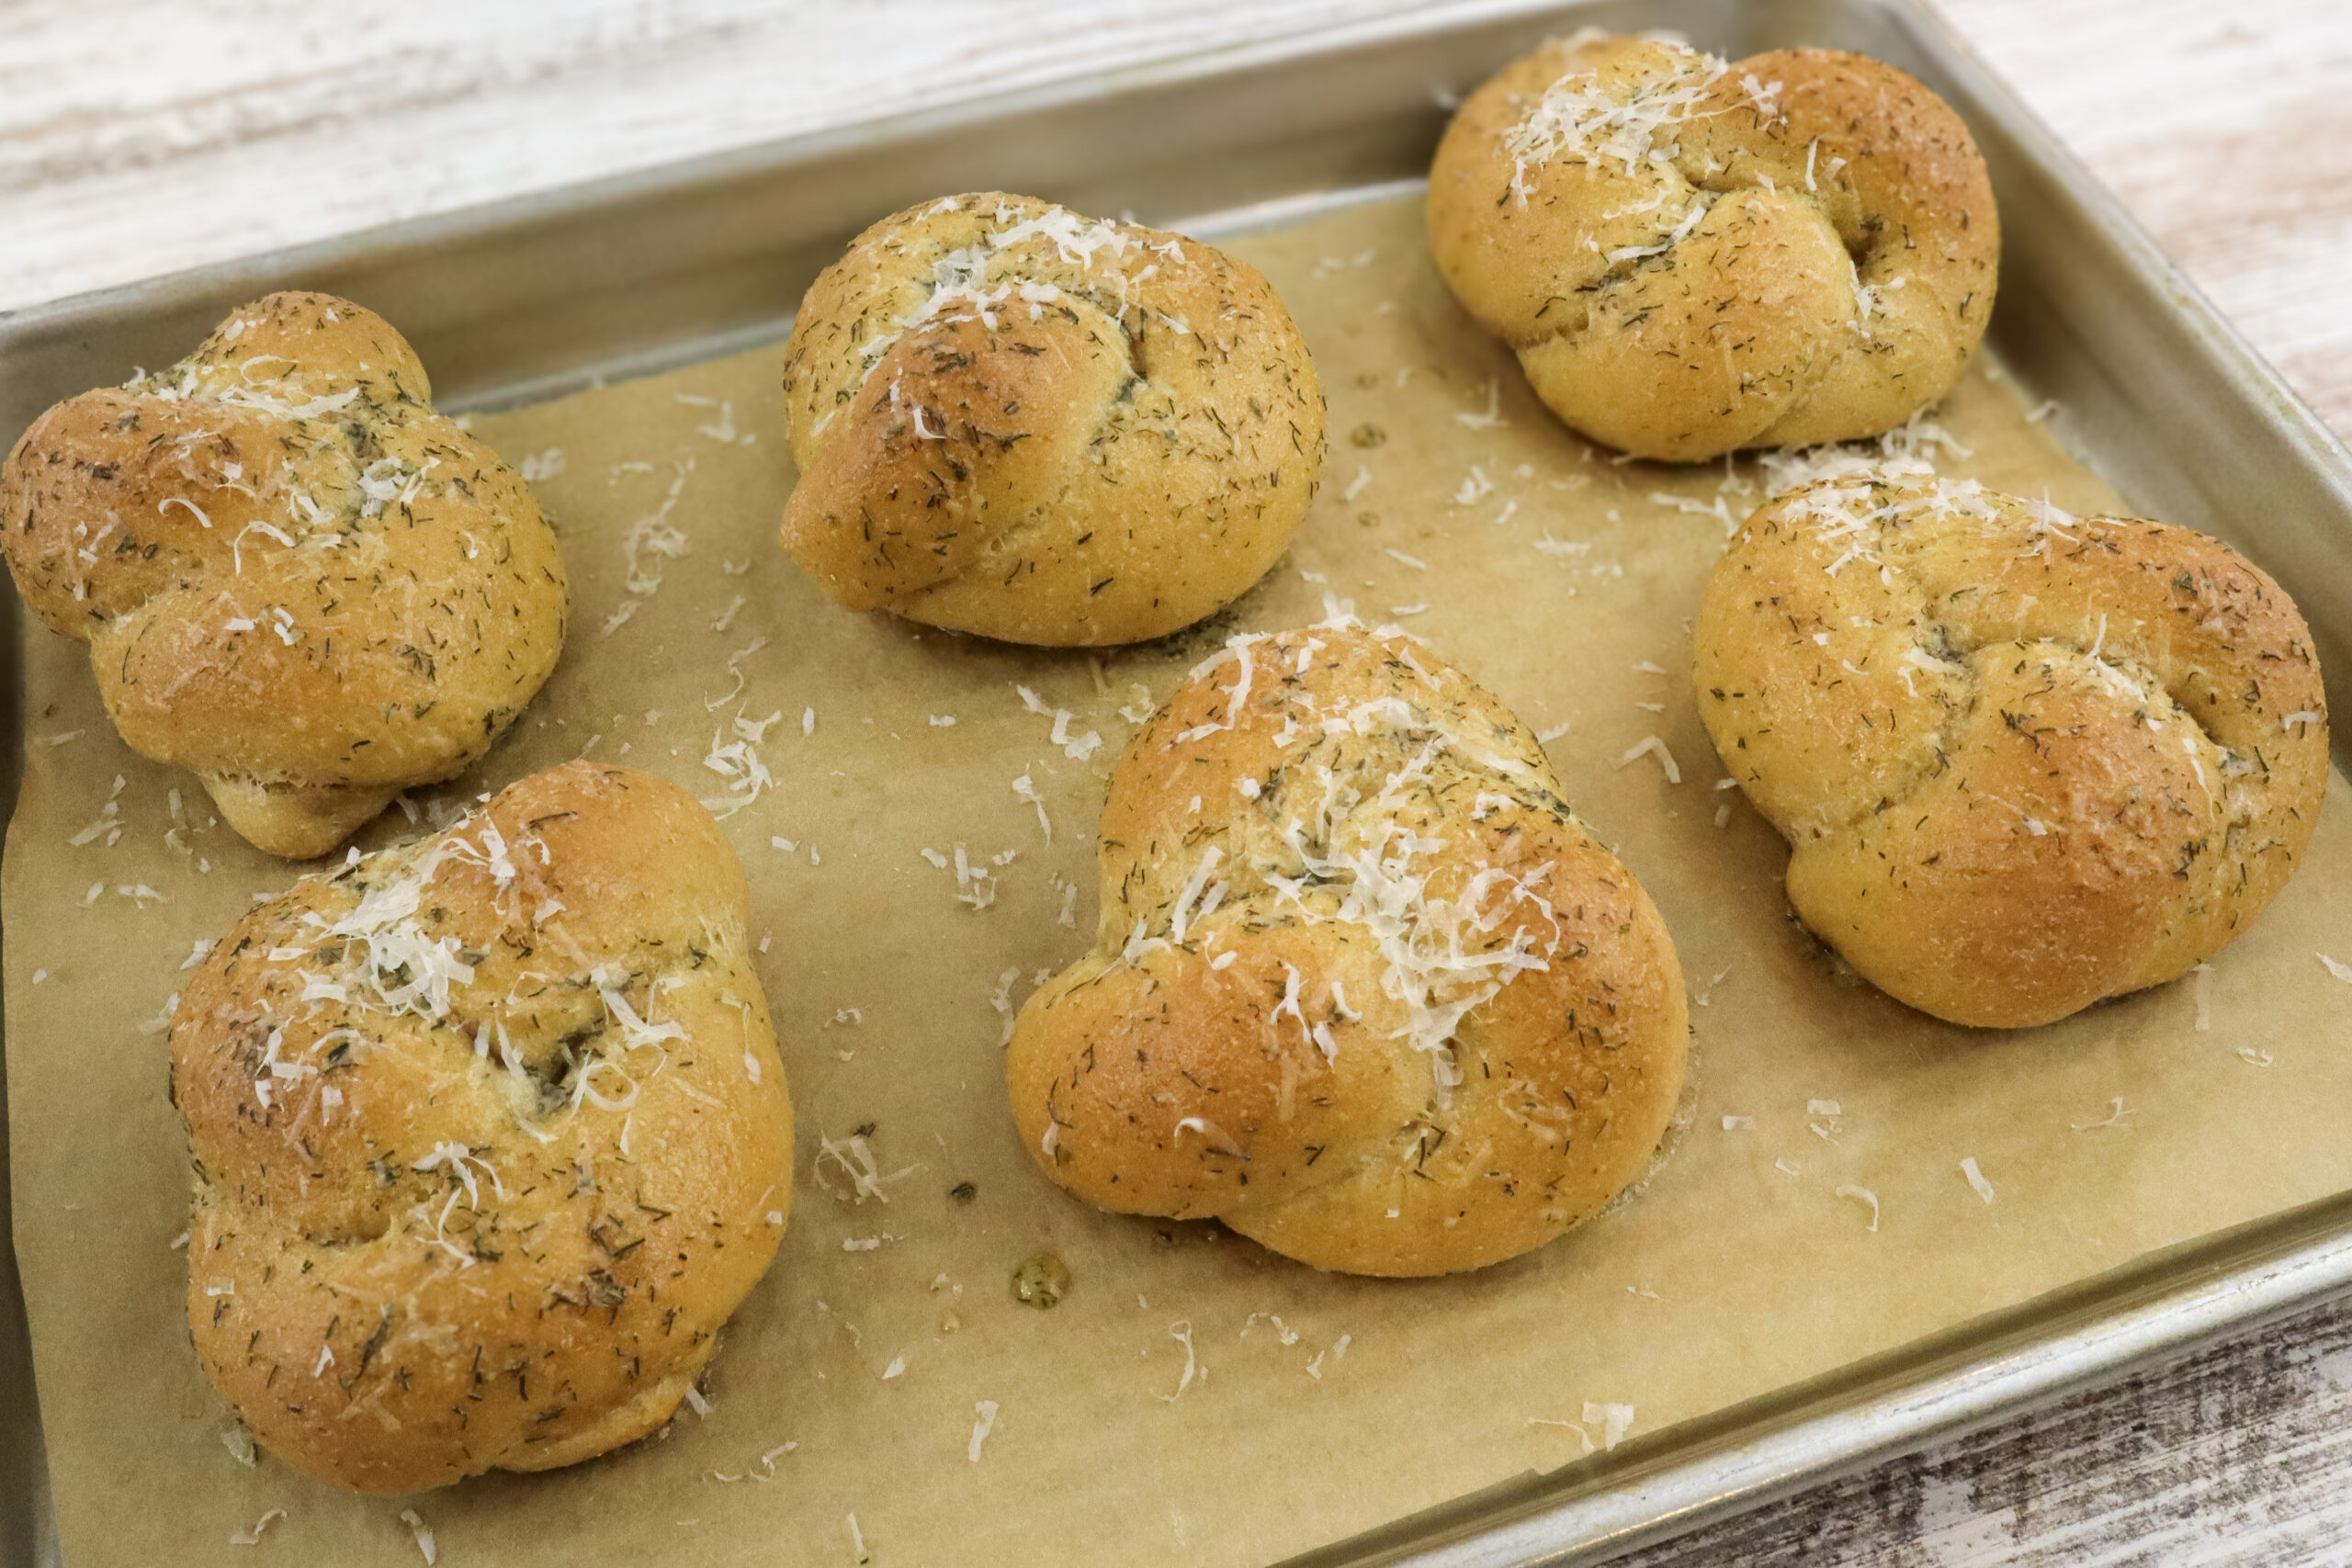
Step 9. Baking:
Next, remove the cover from knots. Place in the oven and bake at 350° for 20 minutes. Once fully baked, the internal temperature should be at least 195°.
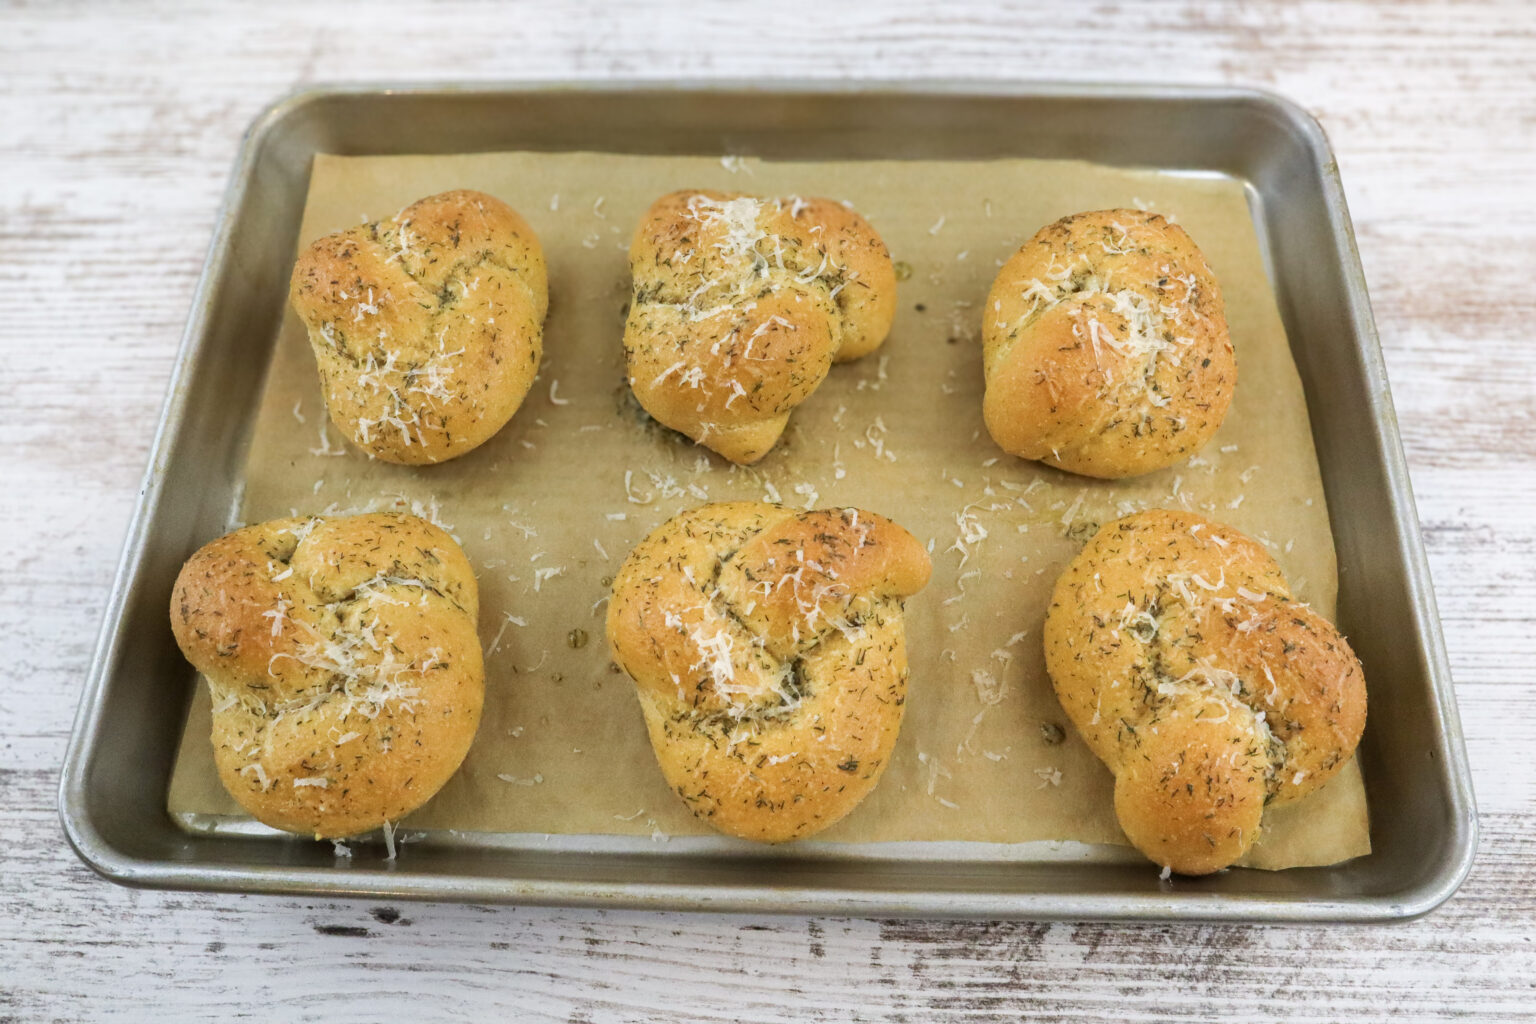
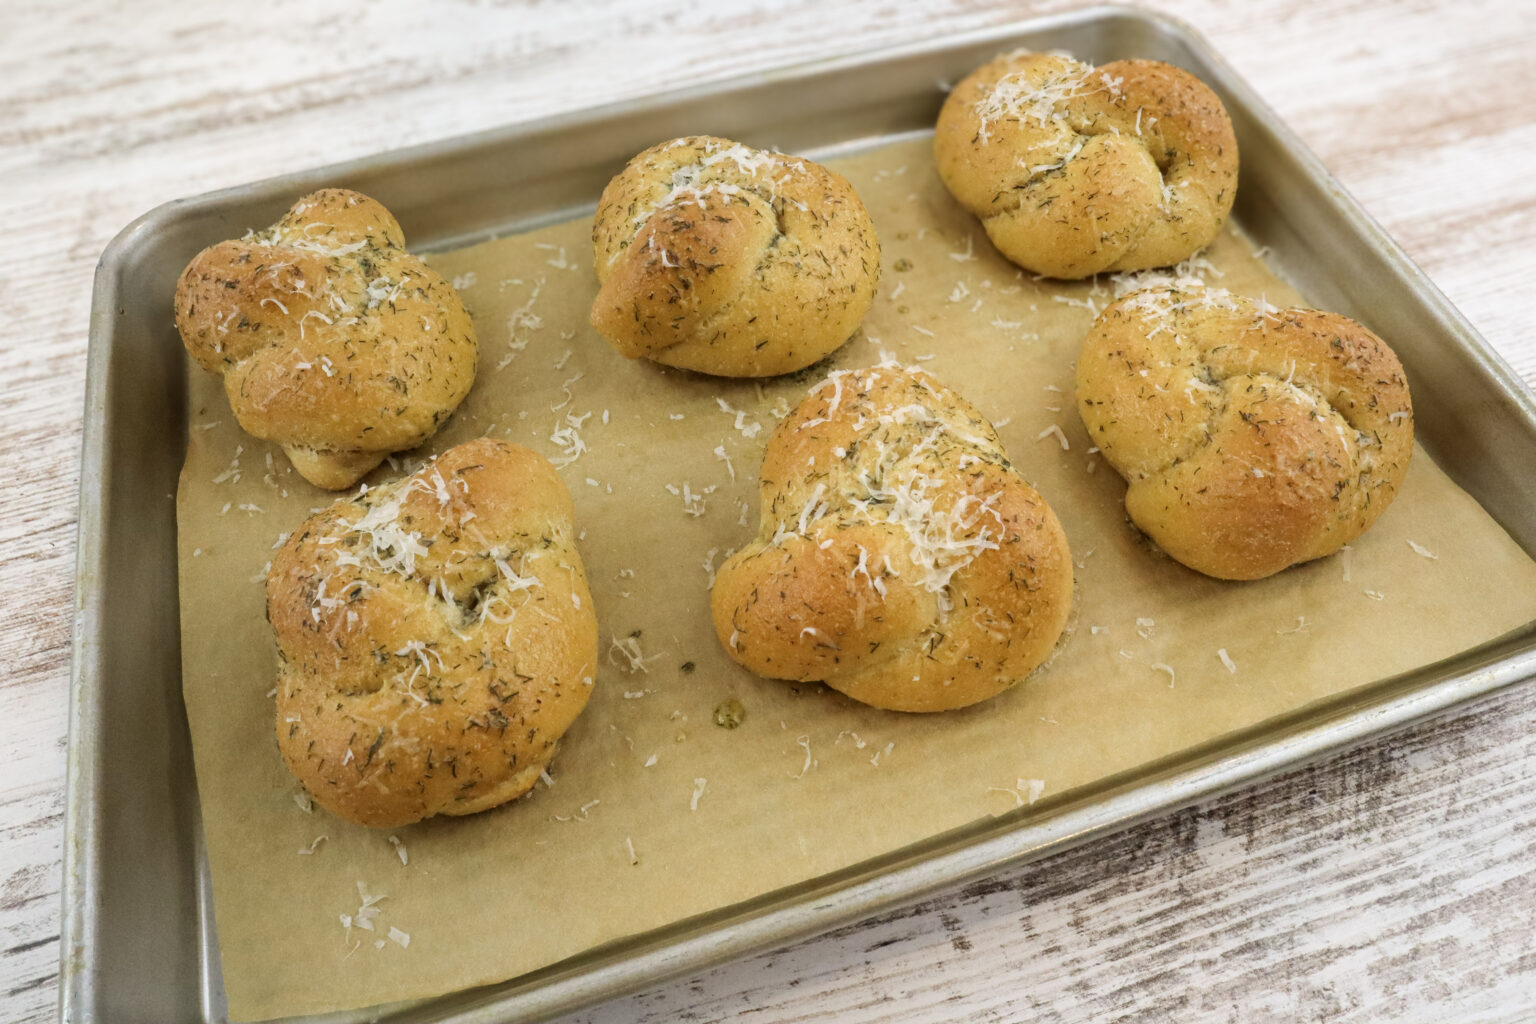
Step 10. Topping the garlic knots:
Lastly, remove from the oven and brush hot garlic knots with melted dill butter garlic mixture. Then, freshly zest parmesan cheese on top. Dill Butter Garlic Knots are best served warm the same day as baking. However, they will keep in the refrigerator for up to 3 days. They also freeze well in a freezer safe airtight container.
Whether you’re baking for a special occasion or just want to elevate your everyday bread basket, these Dill Butter Garlic Knots are sure to impress. The combination of fresh milled flour, aromatic dill, and savory garlic butter creates a flavor and texture that’s truly unforgettable. Plus, with the versatility of this dough, you can easily adapt the recipe to suit your needs. I hope this recipe inspires you to experiment with fresh milled flour and enjoy the wholesome goodness it brings to your baking.
Shop This Post:
*This post contains affiliate links. As an Amazon Associate, I earn from qualifying purchases. If you click and make a purchase, I may earn a small commission at no extra cost to you. Rest assured, I only recommend products I have personally used and genuinely love, so you’re in good hands.
Use code GRANDMA20 to get $20 off Bosch Mixers, Artiste, and Magimix
Brod & Taylor Precision Kitchen & Coffee Scale with Timer | (0.1g Precision)
USA Pan Nonstick Quarter Sheet Pan, Set of 2
Creative Co-Op Black & White Marble Salt & Pepper Pots with Wood Lids (Set of 2 Styles)
TableCraft H931 Siena 16 Oz. Green Tint Glass Oil Bottle
Saf Instant Yeast, 1 Pound Pouch
CAMBRO RFS6PP190 Camwear 6-Quart Round Food Storage Container with Lid
Dill Butter Garlic Knots: Made with Fresh Milled Flour
Ingredients
Method
- Firstly, measure 660 grams of hard wheat berries. I like to use 473 grams of hard white and 187 grams of Khorasan. If you don’t have Khorasan, you can use all hard white. Hard red wheat berries are another great option.
- Secondly, mill the wheat berries through your grain mill on a fine setting. If you have trouble getting all the flour to move through your mill, you may need to weigh out one or two grams extra of wheat berries. This will account for any loss you may experience in the milling process. Once you have the flour freshly milled, add 11.5 grams (2 tsp) of salt and 26 grams (¼ cup) of dry milk powder to the flour and gently mix with a spoon. Then set aside.
- Tip: If you don’t have milk powder, you may omit it, but you will need to substitute the water for milk.
- Thirdly, measure 418 grams of water and warm until it’s approximately 95° F to 105°F. This can be done by placing it in the microwave for approximately 45 seconds. Add water, 39 grams of olive oil, 85 grams of honey, and 1 room temperature egg to a stand mixer. Mix the liquid ingredients. Start out at a low speed and then slowly increase the speed to medium until all the wet ingredients are well mixed.
- Once the wet ingredients are mixed, gradually add the freshly milled flour mixture. Mix on a low to medium speed just until all the flour is no longer dry. It should only take one to two minutes. Don’t over mix at this point. You’re just trying to get the flour wet at this stage.
- Next, cover and let rest for 1 hour.
- After the dough has autolysed for one hour, add 2 1/2 tsp instant yeast. I like to use saf–instant. Then, knead in your stand mixer until you have reached a windowpane. Trust the process and DO NOT add any extra flour at this point. When you first start mixing this is a very wet dough. It will come together. As you start to knead you will see the dough strengthen. It will begin to ball up and become one cohesive unit. The kneading process will be done when you reach the windowpane stage.
- Next, lightly oil your proofing container to prevent sticking. A see through container with straight sides works best. Then, transfer your dough to the proofing container. Cover and let rest in a warm place until it increases by about 80%.
- While you are waiting for your dough to ferment, prepare the baking sheet. I prefer to place a piece of parchment paper or an oven safe silicone mat on the baking sheet. If you won’t be using either of these options, you will want to grease your baking sheet with unsalted butter.
- Once the dough has risen 80%, turn the dough out onto a lightly oiled work surface. Lightly oil the dough scraper and rolling pin. Divide the dough into 24 equal pieces. If you only want to make 12 knots, cut dough in half, then take half the dough and divide into 12 equal pieces. You can shape the other half of the dough into my soft sandwich bread or one of my other basic dough recipes.
- After you have equal size portions; shape the knots. Do this by rolling each piece of dough into a rectangle shape. It should be approximately 10 inches wide by 2 inches tall. This does not have to be perfect. Next, roll the dough along the 10-inch-wide side into a cylinder shape. Then, pinch the ends together. Next, roll the cylinder shaped dough back and forth across your work surface to even the dough out. Subsequently, this will create surface tension. Next, tie the dough into a knot. Tuck the end under the knot and place on the prepared baking sheet. Repeat shaping for all 24 knots.
- Once all the knots are shaped, cover and let them sit in a warm place to rise for about 15 minutes. You don’t want to over proof the dough here. They will be puffy, but they won’t be doubled in size. While the knots are proofing, preheat the oven to 350°F.
- In a small pan on low heat melt 70 grams of unsalted butter. Add 1.5 g garlic powder, 6 g salt, and 1.2 g dried dill. Stir until mixed. Remove from heat.
- Tip: If you prefer to use a microwave instead of a stove, add all ingredients to a small dish and warm in the microwave for 10-20 seconds at a time until all the butter is melted. Then, stir until all ingredients are well mixed.
- Next, remove the cover from knots. Place in the oven and bake at 350° for 20 minutes. Once fully baked, the internal temperature should be at least 195°.
- Lastly, remove from the oven and brush hot garlic knots with melted dill butter garlic mixture. Then, freshly zest parmesan cheese on top to your taste.


These look absolutely amazing — dill and garlic butter is such an underrated combo! And using fresh milled flour makes it next-level delicious. I can practically smell them baking from here!