Traditional Pie Crust Made with Freshly Milled Flour
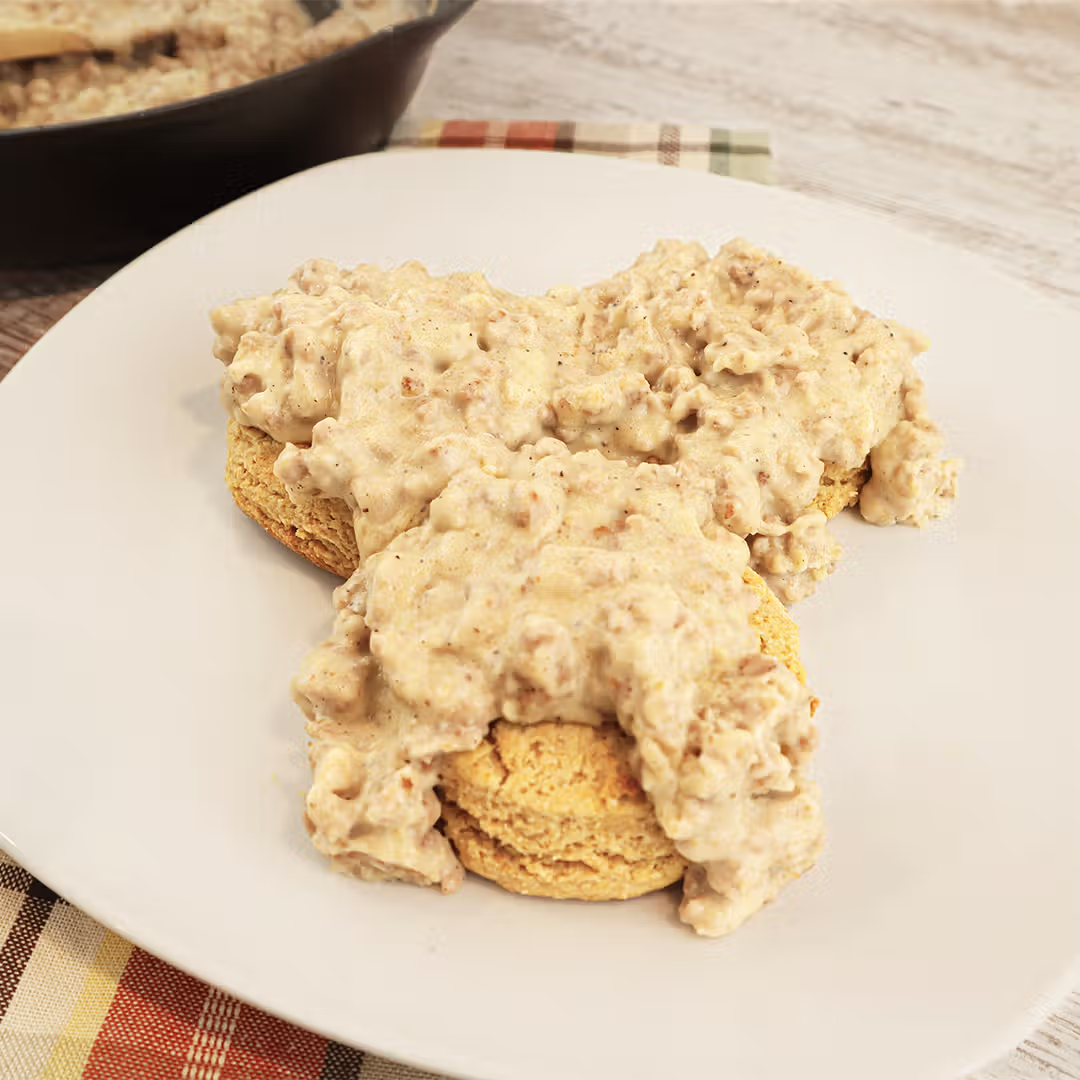
This traditional pie crust, crafted with freshly milled flour, is the cornerstone of countless delectable dishes that our family adores. Whether it’s the sweet allure of apple pie or the savory delight of chicken pot pie this pie crust never fails to impress.
If you’re new to making pie crust, don’t worry—give yourself some grace. It might take a bit of practice, but once you master the technique, you’ll create cherished memories with your family, where this pie crust takes center stage in every delicious bite.
*This post contains affiliate links. Please see full disclosure for details.
To get started, you will need the following Ingredients:
355 g soft wheat berries (118g Khorasan, 237g soft white)
76 g cold unsalted butter
76 g cold lard (may substitute unsalted butter)
½ teaspoon salt
2 teaspoons cold apple cider vinegar
5 to 7 tablespoons of ice water
1 teaspoon of unsalted butter or lard to grease pie plate
Step 1:
Measure wheat berries and run them through a grain mill on a fine setting. You may use a soft wheat berry or ancient grain of your choice. Experiment with different combinations to discover what flavors you like best. For instance, I prefer to use a mix of 118g Khorasan and 237g soft white.
Tip:
Hard wheat berries do not work as well for pie crust. However, if you need to use a hard white or hard red wheat, you will want to use additional apple cider vinegar in step 5 to soften the texture.
Step 2:
Add ½ teaspoon of salt to the fresh milled flour and mix with a spoon.
Step 3:
Add 76 grams of cold unsalted butter and 76 grams of cold lard to the flour mixture. If you don’t have lard, you may substitute with unsalted butter. However, the combination of butter and lard in this pie crust brings a traditional flaky texture with a rich flavor. If you can get lard, give it a try. Your tastebuds will thank you later. Additionally, I prefer to use a grass fed European style butter. It has less moisture and a superb flavor. It’s very important to ensure the butter and lard are both very cold.
Step 4:
Use a pastry blender to cut-in the cold butter and lard into the freshly milled flour mixture. Continue until it develops a texture that looks similar to cornmeal.
Tip:
An alternative to using a pastry blender would be to simply add the ingredients to a food processor. Then, pulse a few times until you reach the desired texture. I prefer to use the pastry blender by hand because it’s very easy to do and less dishes for me in the end.
Step 5:
Add 2 teaspoons of cold apple cider vinegar to the mixture. Mix with a dough hook.
Tip:
Vinegar acts as a natural dough conditioner. This is particularly important when using freshly milled flour because the natural oils from the grain are still present. If you are looking for a softer texture for the final pie crust, add an additional ½ to 1 teaspoon of cold apple cider vinegar. However, after testing numerous variations of this recipe, I found that 2 teaspoons was the perfect goldilocks texture for my family’s preference.
Step 6:
Add 5-7 tablespoons of ice-cold water to the mixture one at a time. Mix with a dough hook after each tablespoon is added. Subsequently, Add enough liquid for the mixture to come together in one cohesive ball. The moisture in your environment will impact how much water you need to add. Once you start to feel an increase resistance mixing with the dough hook, continue mixing with clean hands until a ball is formed.
Tip:
Take caution not to overwork the dough. It is for this reason that I prefer to mix most of the dough with the dough hook instead of my hands. If you overwork the dough, the final crust will be hard and crumble.
Step 7:
Cover and place into the refrigerator for at least 30 minutes. This rest time is important to allow the wheat bran and germ from the freshly milled flour to soak up the liquid and soften.
Step 8:
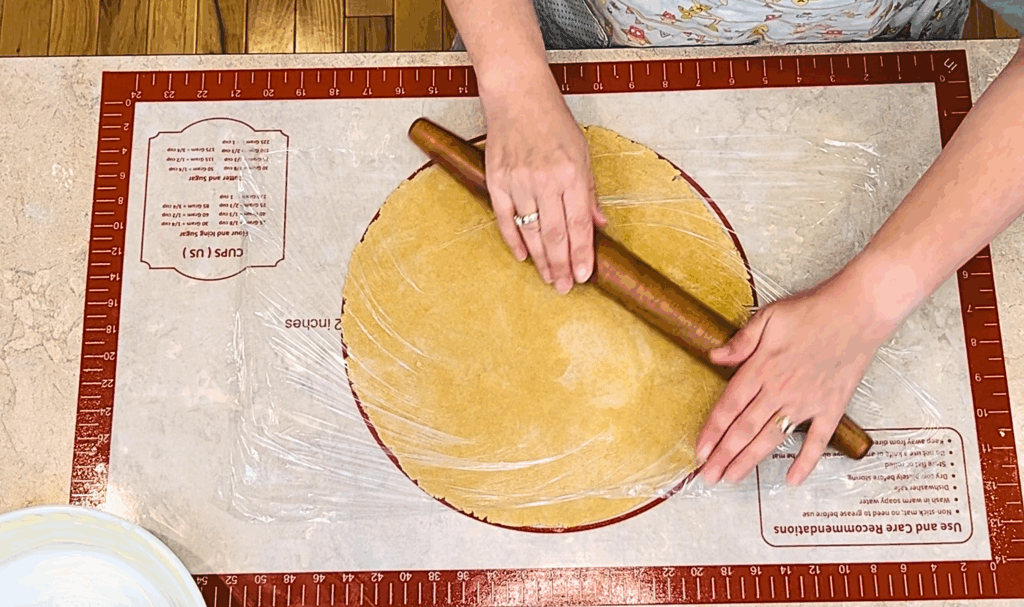
Remove the dough from the refrigerator and cut in half. Form each half into a disc. Then, roll out into a 12-inch circle on a non-stick work surface. Resist the urge to add more flour. If the dough is sticking, roll between two pieces of parchment paper or plastic wrap. An additional option, my preference, is to roll between a silicone non-stick work surface and plastic wrap. Repeat with the second half of the pie crust.
Step 9:
Cover airtight and place in the refrigerator for at least 1 hour to overnight. It’s important to ensure the dough is cold throughout.
Step12:
Generously, grease a 9-inch pie plate with unsalted butter or lard. I prefer butter.
Step 11:
Remove cold dough from the refrigerator and allow it to sit at room temperature for about 5 minutes.
Tip:
You want it to be cold throughout. However, if the dough is too cold it becomes fragile and will crack. Taking it straight from the refrigerator and trying to form it in your pie plate will cause it to fall apart. Allowing it to sit for a few minutes at room temperature will soften it just enough to make it pliable.
Step12:
Peel the rolled dough from the non-stick work mat and form into a 9-inch pie plate. If it starts to crack, let it sit for a few minutes more to soften up. Then, pinch the crack back together and continue forming into a pie plate.
Tip:
Learning to work with a lard-based pie crust can be a little tricky in the beginning. It takes some practice. Don’t give up , lard paired with the freshly milled flour it’s worth it in the end.
Note:
This recipe will make two layers of crust. If your recipe only needs one layer the remainder of the dough can be frozen in an airtight container. When ready to use, thaw completely in the refrigerator, then repeat steps 8-12.
For a one-layer pie:
Step13:
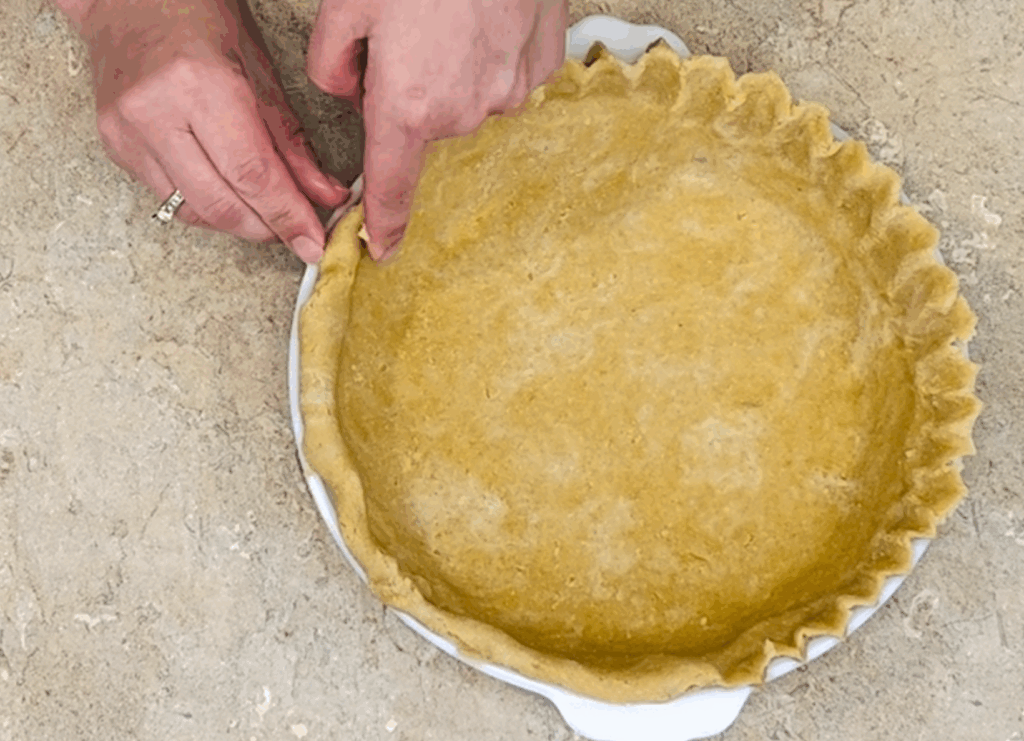
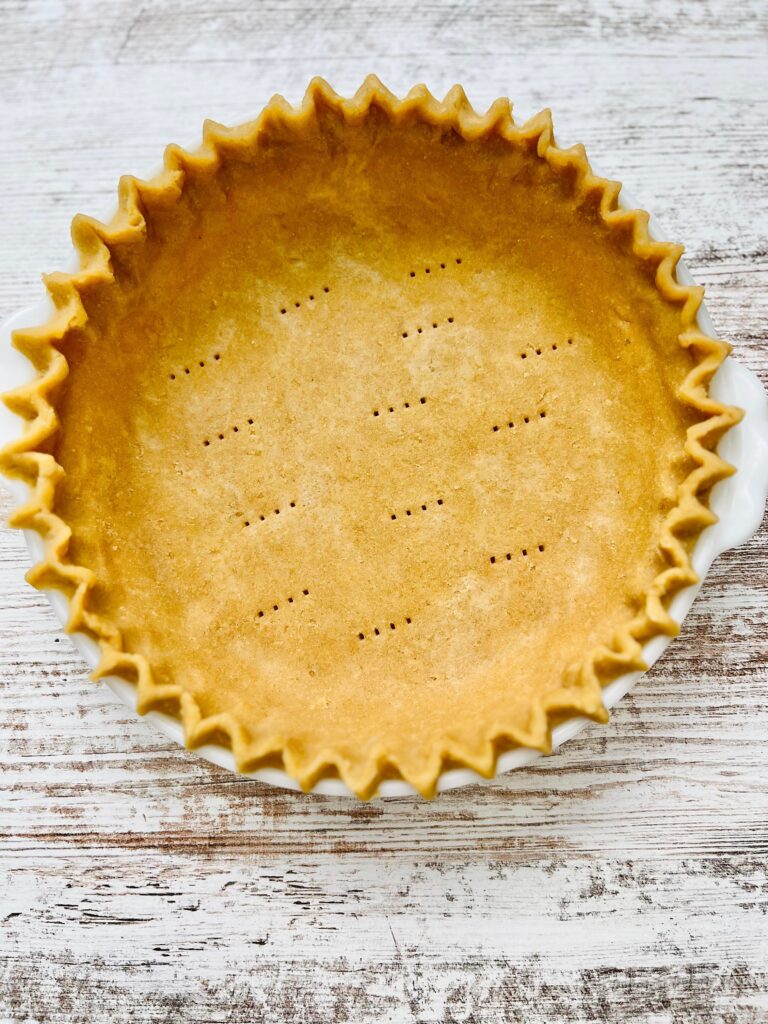
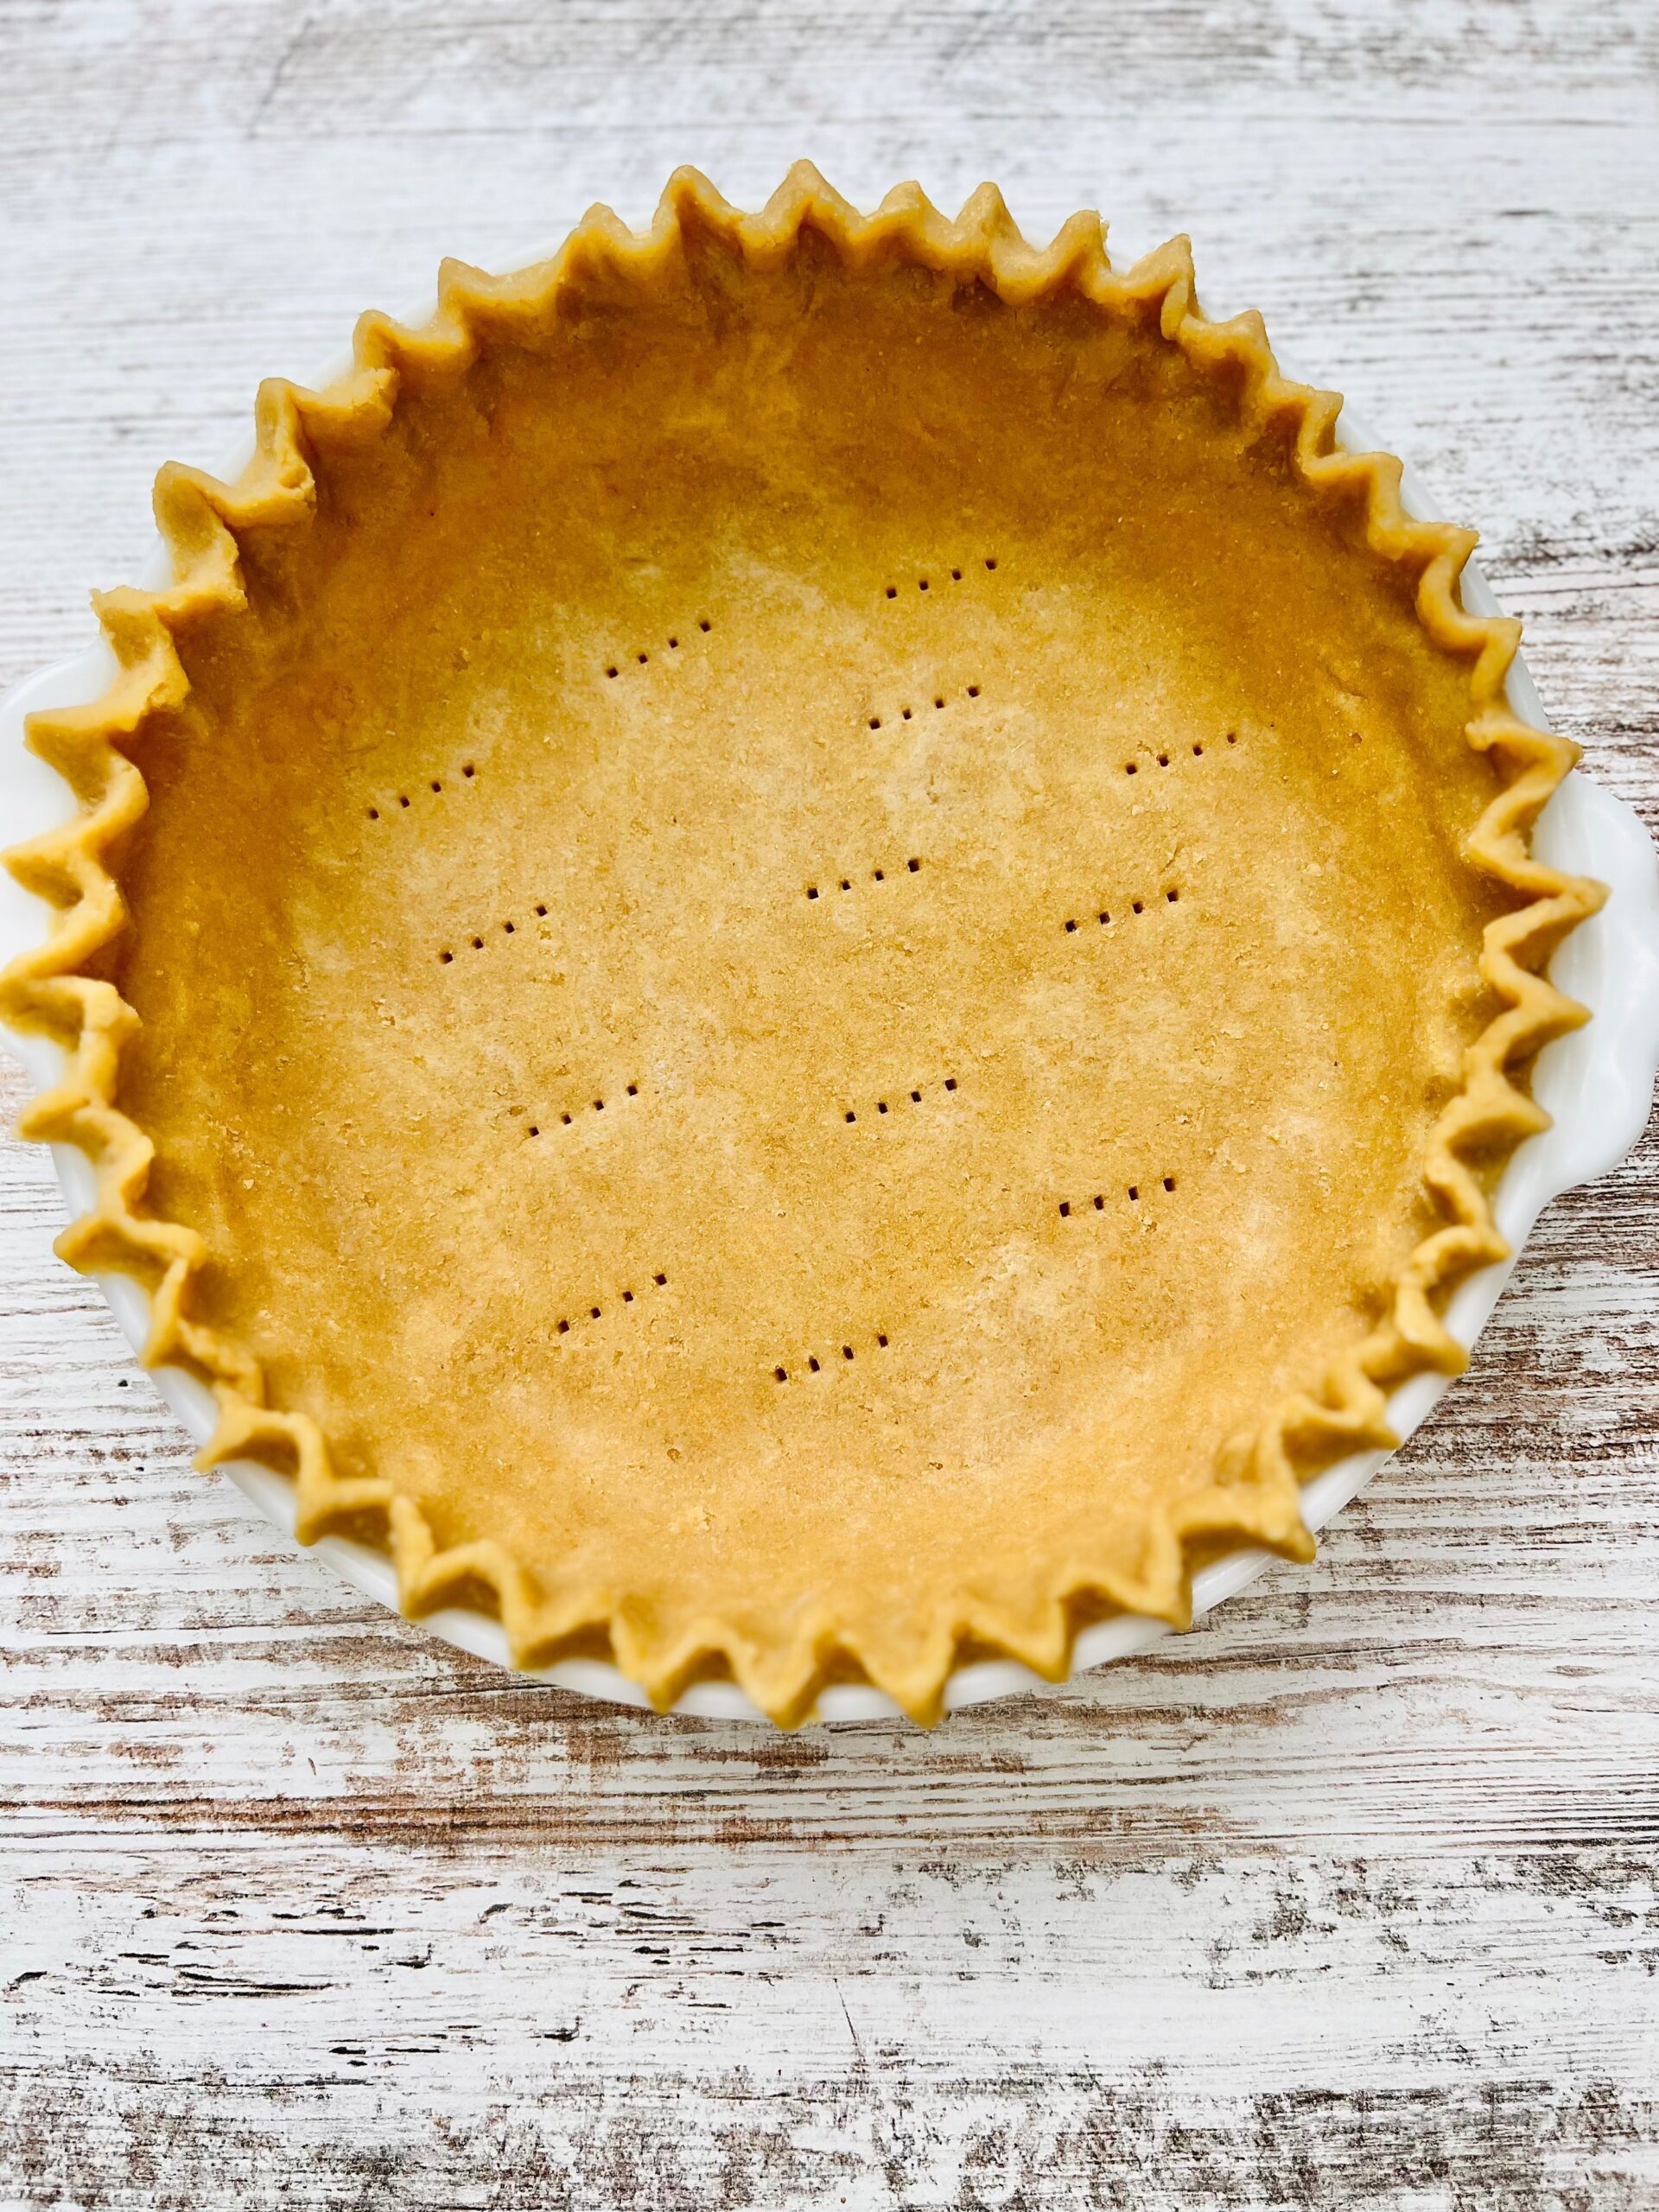
Fold any excess dough under and flute the edges. The easiest way to flute the edges is by placing your index finger on the edge. With the other hand, pinching the excess dough up around your finger. Move around the pie plate until the edges have been fully fluted.
Step 15:
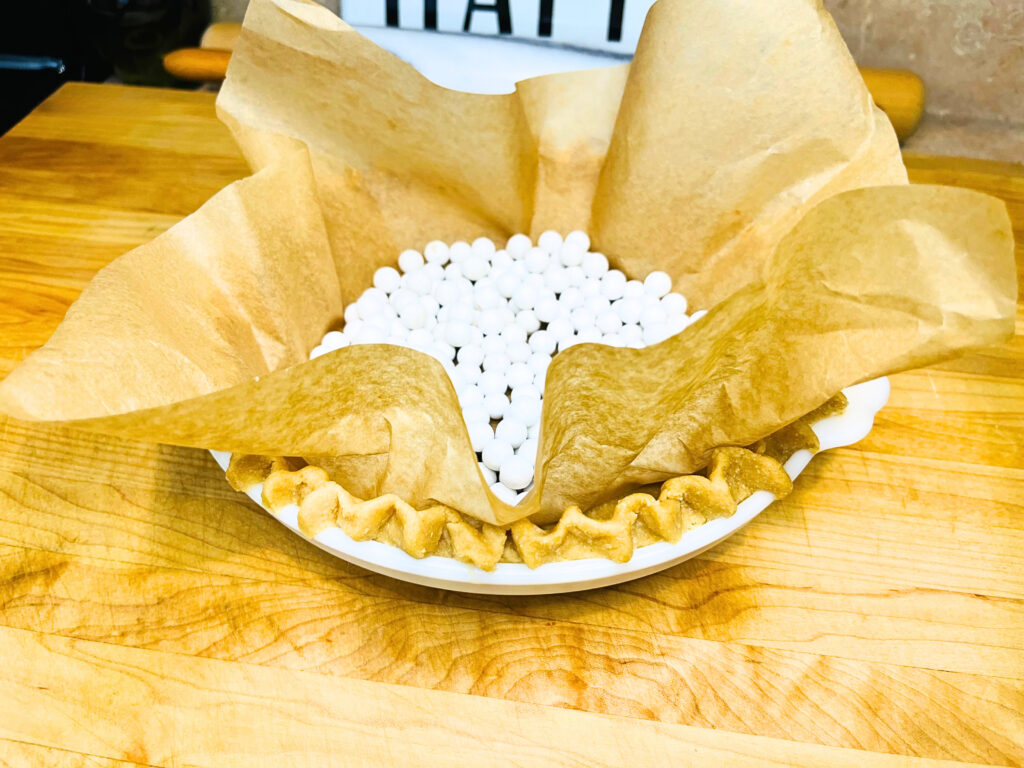
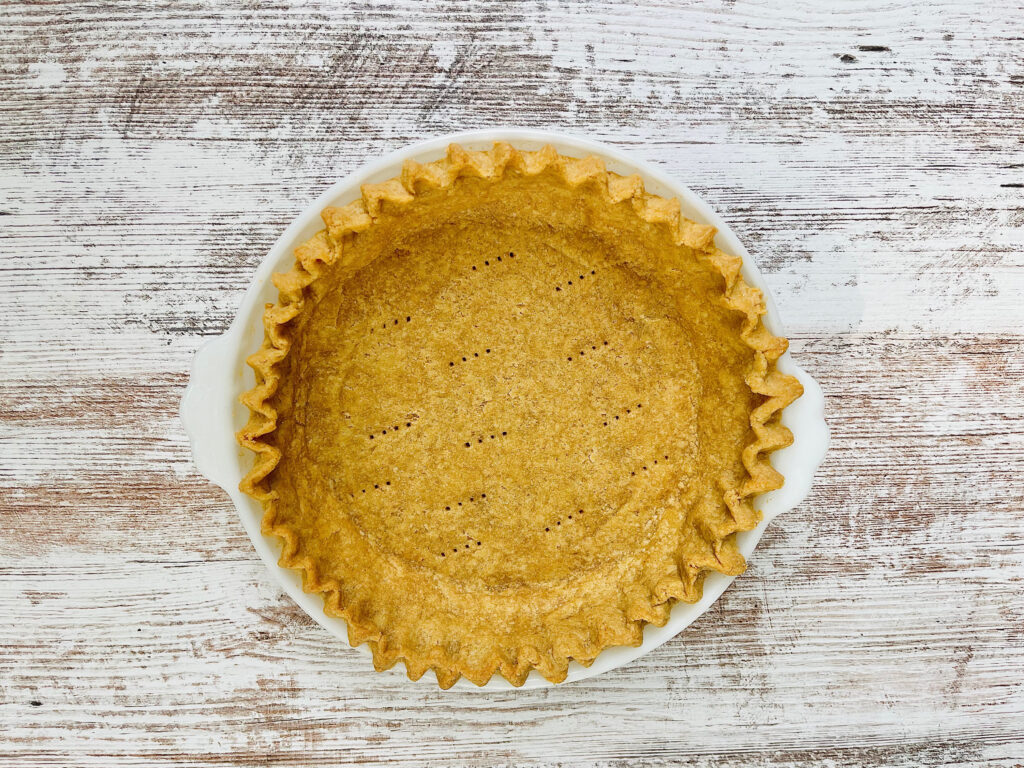
If your pie recipe doesn’t bake the filling with the crust, you will need to par-bake it. This is also called blind baking or prebaking. Use a fork to perforate a few holes in the bottom of the crust. Next, place parchment paper on top. After that, add pie weights on the bottom. This process prevents the pie crust from shrinking and bubbling too much.
Step 16:
Pre-bake at 350° for 15 minutes. Then, remove parchment paper and pie weights. Return to the oven and bake at 350° for an additional 10 minutes or until the crust is slightly golden.
For a two-layer pie crust:
After you have the bottom layer formed into the pie plate (step 12), add your pie filling. Then, place the second layer of crust on top of the filling per the instructions of your specific pie recipe. Flute the edges and proceed to bake as instructed in your pie recipe.
Shop This Post:
This post contains affiliate links. As an Amazon Associate, if you click and make a purchase, I may earn a small commission at no extra cost to you. Rest assure, I only recommend products I have personally used and genuinely love, so you’re in good hands.
Use code GRANDMA20 to get $20 off Bosch Mixers, Artiste, and Magimix
Jillmo Danish Dough Whisk, 12inch Stainless Steel Bread Whisk
Brod & Taylor Precision Kitchen & Coffee Scale with Timer | (0.1g Precision)
Now Designs Reusable Bowl Cover to Reduce Waste, Ticking Stripe – Large & Medium | Set of 2
Creative Co-Op Black & White Marble Salt & Pepper Pots with Wood Lids (Set of 2 Styles)
Traditional Pie Crust Made with Freshly Milled Flour
Ingredients
Method
- Measure wheat berries and run through mill on fine setting to grind flour. You may use a soft wheat berry or ancient grain of your choice. Experiment with different combinations to discover what flavors you like best. I prefer to use a mix of soft white wheat and Khorasan.
- Add ½ teaspoon of salt to the fresh milled flour and mix with a spoon.
- Add 76 grams of cold unsalted butter and 76 grams of cold lard to flour mixture. If you don’t have lard, you may substitute with unsalted butter. It’s very important to ensure the butter and lard are both very cold.
- Use a pastry blender to cut-in the cold butter and lard into the freshly milled flour mixture. Continue until it develops a texture that looks similar to cornmeal.
- Add 2 teaspoons of cold apple cider vinegar to the mixture. Mix with a dough hook.
- Add 5-7 Tablespoons of ice-cold water to the mixture one at a time. Mixing with a dough hook after each tablespoon is added. Add enough liquid for the mixture to come together in one cohesive ball. The moisture in your environment and will impact how much water you need to add. Once you start to feel an increase resistance mixing with the dough hook, continue mixing with clean hands until a ball is formed.
- Cover and place into the refrigerator for at least 30 minutes. This rest time is important to allow the wheat bran and germ from the freshly milled flour to soak up the liquid and soften.
- Remove from dough from refrigerator and cut in half. Form each half into a disc. Then, roll out into a 12-inch circle on a non-stick work surface. Resist the urge to add more flour. If the dough is sticking, roll between two pieces of parchment paper or plastic wrap. An additional option, is to roll between a silicone non-stick work surface and plastic wrap. Repeat with second half of the pie crust.
- Cover airtight and place in the refrigerator for at least 1 hour to overnight. It’s important to ensure the dough it cold throughout.
- Generously, grease an 9 inch pie plate with unsalted butter or lard. I prefer butter.
- Remove cold dough from the refrigerator and allow it to sit at room temperature for about 5 minutes.
- Peel the rolled dough from the non-stick covering and form into pie plate. If it starts to crack let it sit for a few minutes more to slightly soften up. Then, pinch the crack back together and continue forming into pie plate.Tip: You want it to be cold. However, if the dough it too cold it becomes fragile and will crack. Taking it straight from the refrigerator and trying to form it in your pie plate will cause it to fall apart. Allowing it to sit for a few minutes at room temperature will soften it just enough to make it pliable.
- For a one-layer pie: Fold any excess dough under and flute the edges.
- If your pie recipe doesn’t bake the filling with the crust, you will need to par-bake it. Use a fork to perforate a few holes in the bottom of the crust. Next, place parchment paper on top. After that, add pie weights on bottom. This process prevents the pie crust from shrinking and bubbling up too much. Pre-bake at 350℉ for 15 minutes. Then, remove parchment paper and pie weights. Return to oven and bake at 350℉ for an additional 10 minutes or until crust is slightly golden.
- For a two-layer pie crust: After you have the bottom layer formed into the pie plate (step 12), add your pie filling. Then, place the second layer of crust on top of the filling per the instructions of your specific pie recipe. Flute the edges and proceed to bake as instructed in your pie recipe instructions.


This pie crust is absolutely perfect. All the other recipes I tried left me with a pie crust that was gritty. This one is not gritty at all. It taste wonderful. Thank you for sharing such a great recipe!
Thank you from the bottom of my heart for this recipe, as well as all the very helpful tips throughout.
I am fifty years old, and one of the “crunchiest” people I know – I render my own lard, from local, pasture raised animals. I make my own cultured butter, from raw cream, also from local, pasture raised animals. I make my own apple scrap vinegar, from crabapples I grow on my own property.
… and until last week, I used store-bought pie crusts because I was too intimidated to make my own.
This recipe turned out MAGNIFICENT – beautifully flaky, and wonderfully flavourful. My in-laws raved about both my pecan and pumpkin pies and had seconds, and that’s at the end of a VERY filling Thanksgiving meal!!!
I am never going back to store-bought and I treasure this recipe.
Thank you, tremendously.
Thank you!! It brings me great joy that my family recipes are now your family recipes.
If I was making multiple pies for the holiday season, how would you suggest storing multiple rolled out pie shells in the fridge. Would piling between parchment paper and then slipping them all into a 2 gallon ziploc work?
Hi Debbie, I roll mine out and cover each layer with parchment paper. Then, I place them on a flat baking sheet and cover airtight with plastic wrap. However, I think a 2 gallon ziplock would work great.